

What I learned from building a directory in Notion
How I built a free ecommerce tools directory in Notion, and what I learned about database views, templates, and publishing along the way.
Update: This walkthrough reflects how I built the directory in 2023. I haven’t rechecked the steps against the current version of Notion, so some interface labels, publishing options, and free-plan features may have changed.
I built a free directory in Notion as a lead magnet for Ecommerce Foundations and launched it on Product Hunt. Directories were getting a lot of attention there at the time, so I thought I’d give it a shot. It finished at number 13, which I was happy with for a directory I’d put together by hand.
You can see the launch here: 350+ E-commerce Tools Database on Product Hunt.
I wanted to share a bit of the build process since I made plenty of mistakes along the way.
If you’ve ever wanted to build an easily shareable database of links and content, this was one of the easiest ways I found to do it. Even if you don’t specifically want to build a directory, some of these lessons may help with other Notion projects.
Step 1: Create your database and columns in Notion
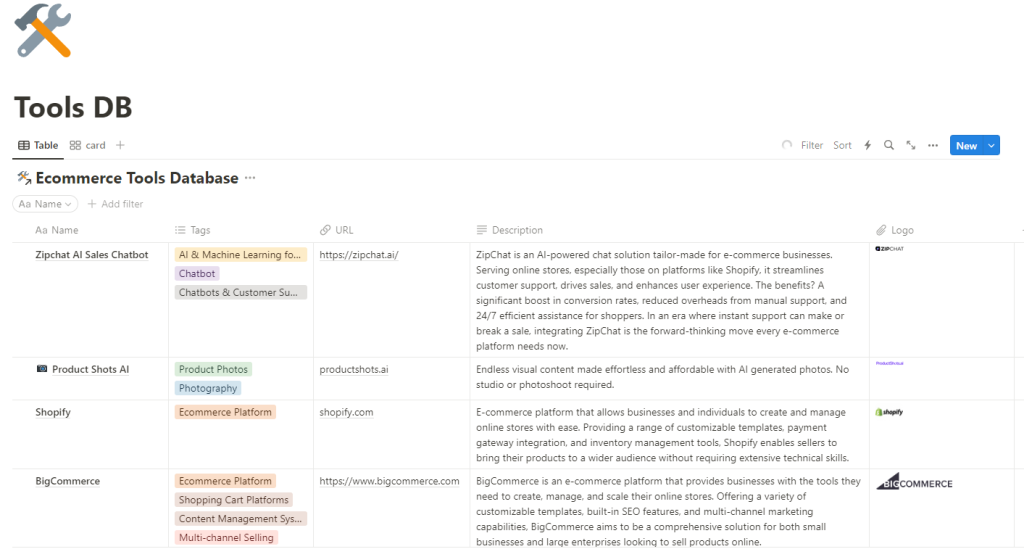
Start by mapping out what data you want in the directory. For instance, the database I created had these columns:
- Name: The name of the app, platform, integration, tool, or resource.
- Tags: One or more categories for the resource.
- URL: A direct link to the application’s main website or landing page.
- Description: A general description of the application.
- Logo: An image of the application’s logo.
This was the basic data structure for the first version of my directory.
You can add as many fields as you need. Here’s a screenshot of part of my Notion database:
Step 2: Create your landing page or directory page
The landing page is the main page that lists all the categories.
Here’s what mine looked like:
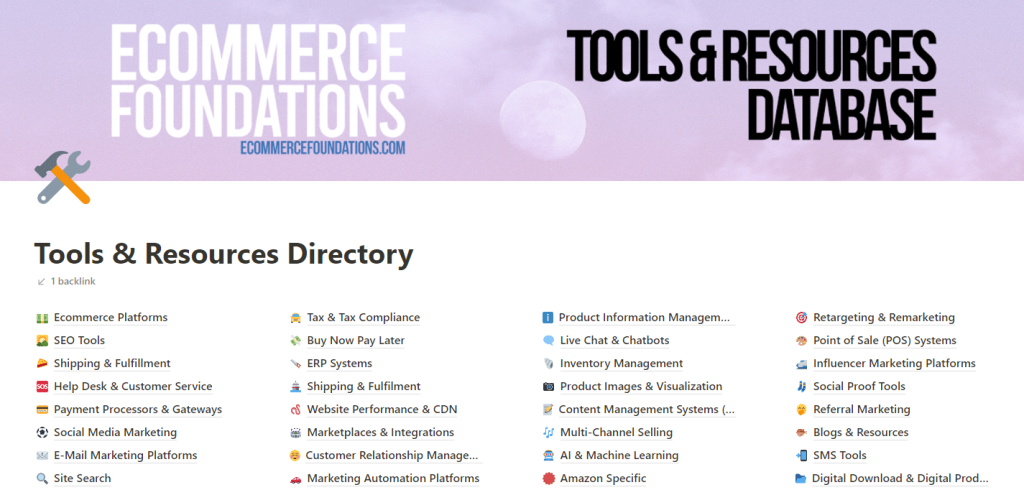
Header image (cover): You can keep the header simple and use something built into Notion, or leave it blank. If you want more branding or polish, you can make your own. This guide to Notion cover image sizes covers the sizing, and you can use Canva to design your banner art.
Every page of your directory will be linked here. You can add more content and sections as well, such as social media links or a link to your blog.
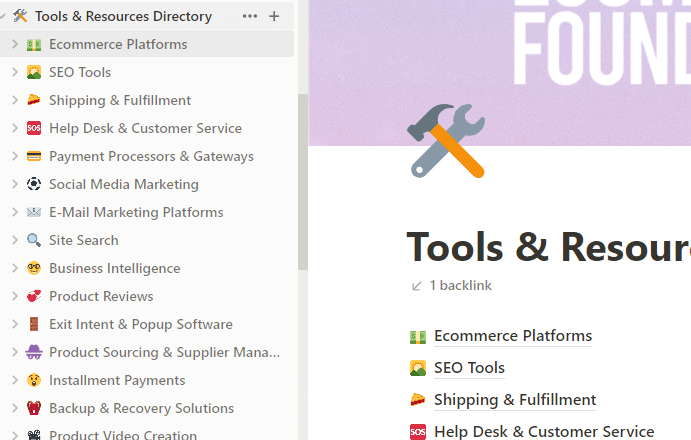
The subpages you create should appear here as pages nested under the main directory page.
Step 3: Create your template view page as a subpage
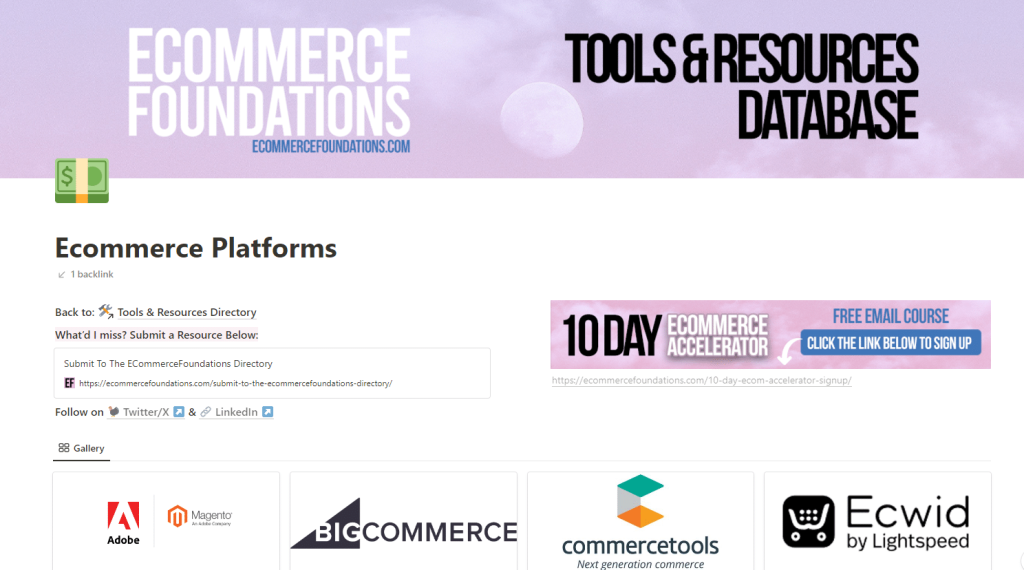
This might be the most important step for saving time. Set up one view that’s ready to copy. Here’s how I set mine up:
- Create a linked database view using the master data source from Step 1.
- Choose a card-style view and configure it to show the logo and title.
- Set the filter to show the right entries for that page.
- Update the page name and icon.
- Add any extra sections and set up the cover image.
Set up publishing and make the page available on the web. When I built this, skipping that step before copying meant going back and making every page public individually. With dozens of pages, that was time-consuming, so double-check your template before duplicating it.
Tip: If you have content repeated on every page that you might want to update later, use synced blocks so you don’t have to edit each page separately.
If a repeated section can’t live in a synced block, test it carefully before copying. Otherwise, one mistake can mean editing every page individually.
Trust me, I know this from experience 😀.
Step 4: Copy your template page, update, and test
Copy the template and change the filters until you’ve built all your directory pages. In the version I used, I had to select “Change for all” when updating a filter to save the change for everyone viewing the page.
Continue adding entries and creating pages until you’ve covered all your categories.
To find data, you can research and write entries yourself or use a tool like Octoparse to collect information where permitted. Either way, check the details before publishing. Gathering and organizing the entries was a substantial part of the work for this directory.
At that point, you’re ready to share it with the world.
For this project, using Notion was much easier than coding from scratch, and I was able to build and publish the directory for free.